
Getting Started
Cloudflare Worker setup
Install Honeylog with the recommended Cloudflare Batch setup, or use the one-click or manual alternatives.
Use this guide when Cloudflare handles visits to the website. You will create a Cloudflare Worker for Honeylog and connect it to the website domain.
#Before you open Cloudflare
Sign in to the Cloudflare account that manages the website. Your account must be allowed to create Workers and connect them to the website domain. If these options are not available, send this guide to the person who manages Cloudflare for you.
#Choose install method
We recommend Cloudflare Batch for Cloudflare websites. It installs or updates the Worker and its routes directly from Honeylog, and sends visits in batches.
Choose one method for the website:
- Cloudflare Batch (recommended): open
Settings > Installation > Cloudflare Batchin Honeylog and follow the automatic setup. - One-click install: choose this alternative if you can connect a GitHub or GitLab account to Cloudflare.
- Manual install: use this alternative if you want to complete everything in the Cloudflare dashboard without connecting GitHub or GitLab.
#Cloudflare Batch (recommended)
- Open the website in Honeylog and go to
Settings > Installation > Cloudflare Batch. - Follow the instructions on that page to find your Cloudflare Account ID and Zone ID and create an API token with the required permissions.
- Enter those values and click
Install or update Worker. - Wait for the success message, then open a few public pages on the website and confirm that visits appear in Honeylog.
Honeylog configures the Worker and its routes for you. Once visits appear, the installation is complete; the one-click and manual sections below are alternative installation methods.
#One-click install
Open the private Honeylog installation page under Settings > Installation > Cloudflare Worker, then start the guided Cloudflare deployment.
- Create the website in Honeylog and choose Cloudflare Worker.
- Start the guided Cloudflare deploy from Honeylog.
- When Cloudflare asks for configuration values, paste only the three values shown below. Use the personalized values from Honeylog, not the placeholders in this public guide.
- Finish the deployment and wait until Cloudflare shows that the Worker was deployed successfully.
- Continue with Add domain or route below.
Values to paste into Cloudflare:
HONEYLOG_API_URL=https://api.honeylog.io/events
HONEYLOG_INGESTION_SECRET=SITE_TOKEN
HONEYLOG_SITE_DOMAIN=SITE_DOMAIN
Template defaults:
HONEYLOG_SITE_SCHEME=https
HONEYLOG_EVENT_NAME=pageview
HONEYLOG_SKIP_PATH_REGEX=\.(?:css|js|mjs|map|png|jpe?g|gif|svg|ico|webp|avif|woff2?|ttf|eot|otf)$
Leave the template defaults unchanged unless Honeylog support or your Cloudflare team has given you different values.
#Manual install
- In Cloudflare, open Workers & Pages.
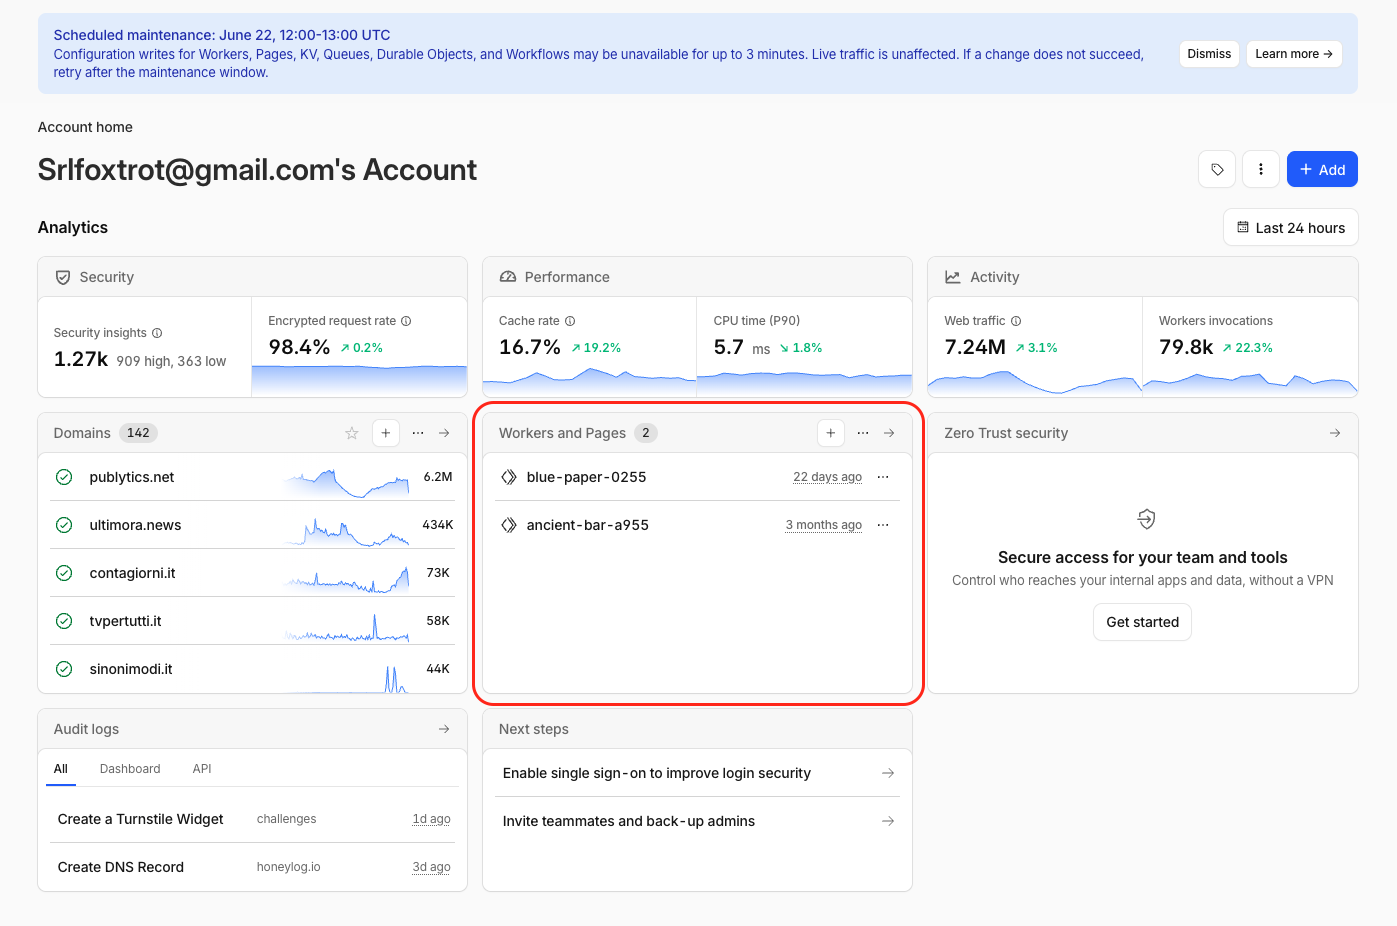
- Click
Create application.
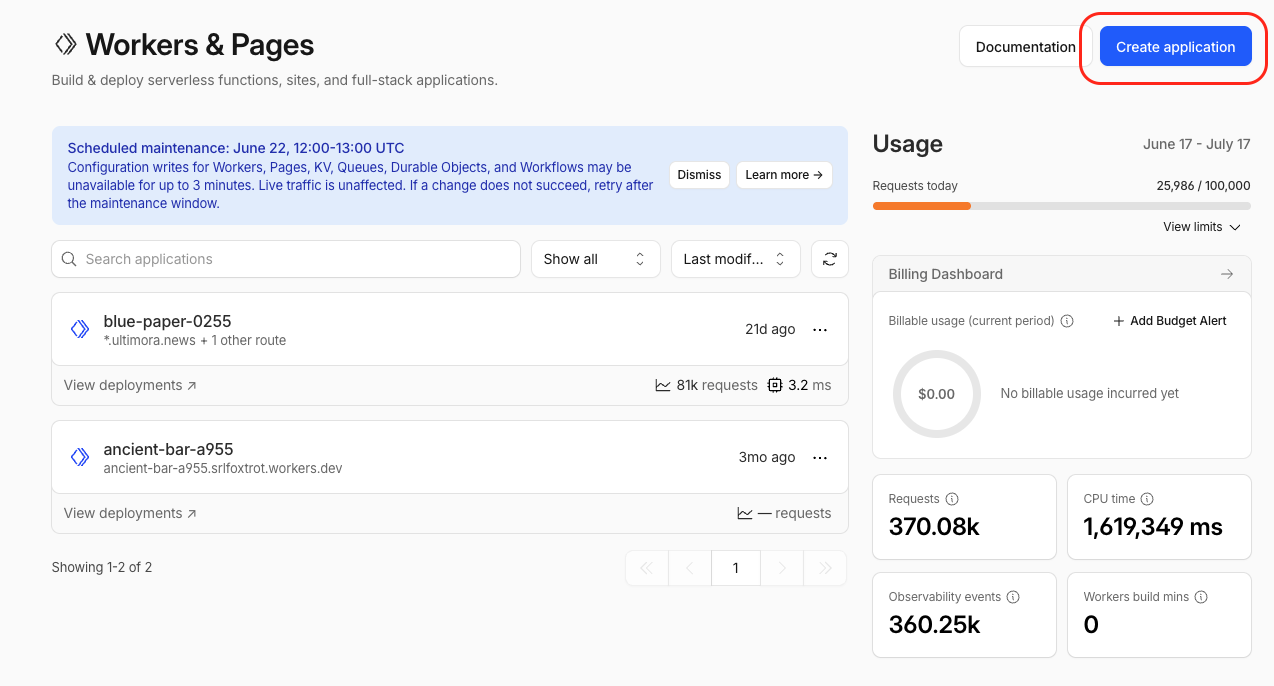
- Choose
Start with Hello World!.
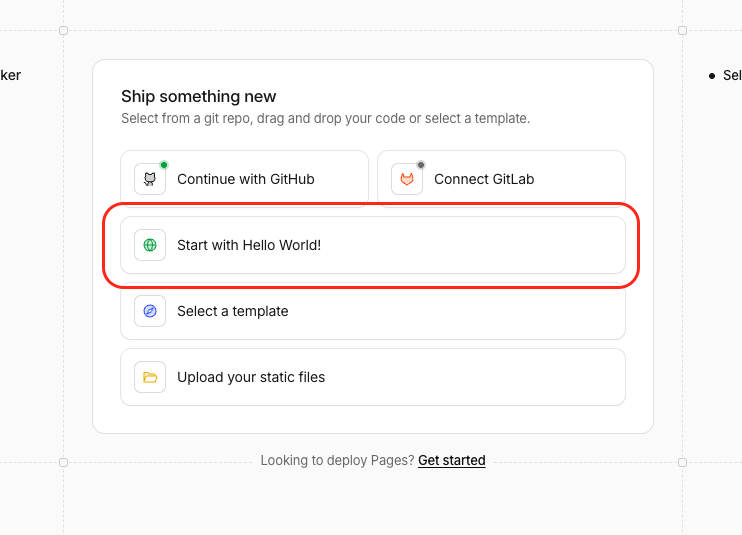
- Deploy the starter Worker and wait until Cloudflare confirms that the deployment is complete.
- Click
Edit code, remove the starter code, and paste the complete Honeylog Worker code shown on the private installation page.
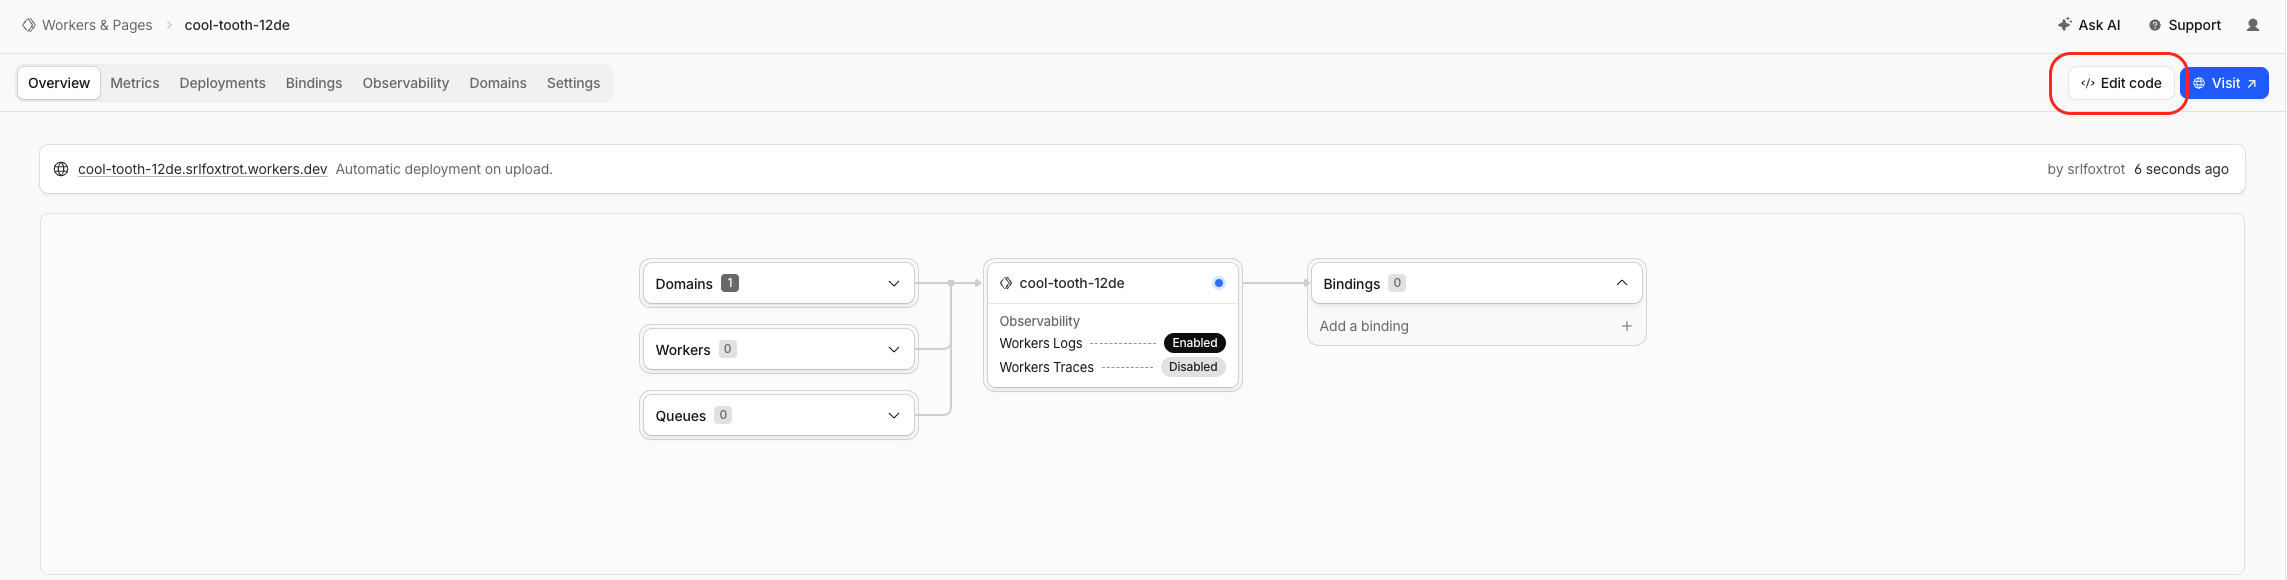
- Save and deploy again. Continue only when Cloudflare shows that the new deployment is active.
Worker script:
#Add variables and secrets
- Open the Worker settings.
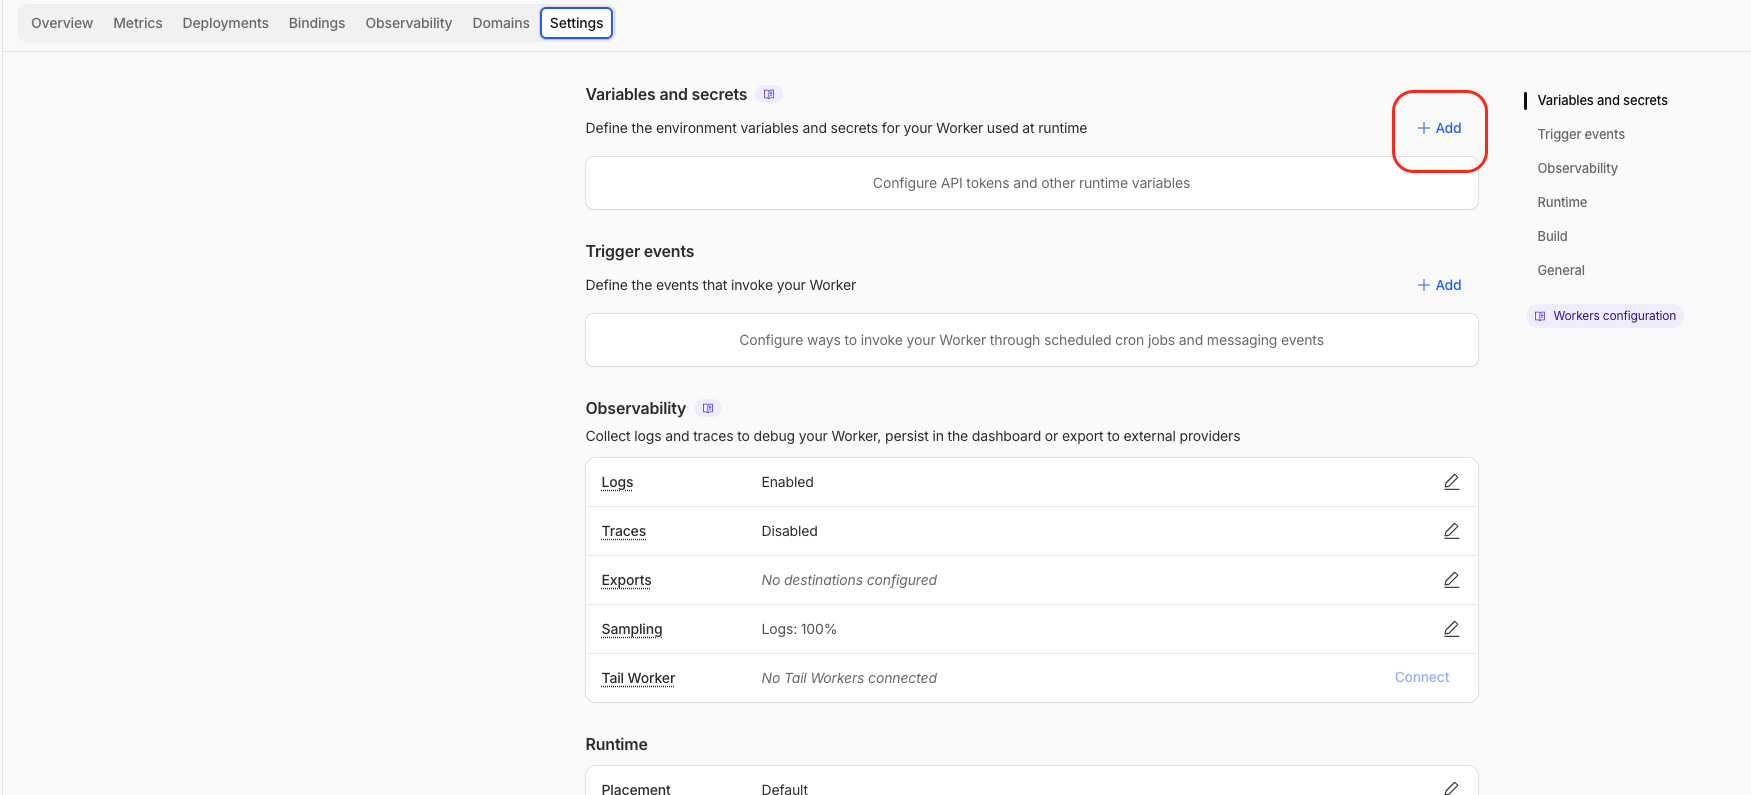
- Add each variable and secret shown on the private Honeylog installation page. Match the name, value, and type exactly.
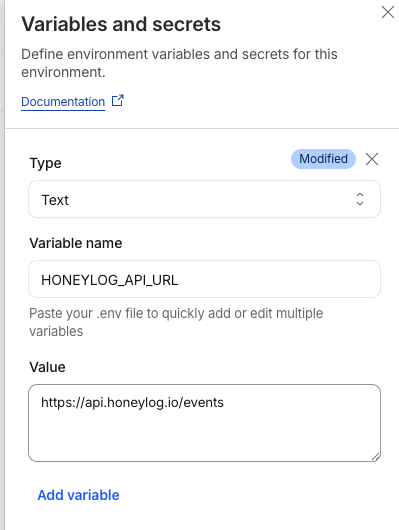
- Leave the template defaults unchanged unless Honeylog support or your Cloudflare team has given you different values.
Before continuing, confirm that all required names appear in the Worker's Variables and Secrets list.
#Add domain or route
A route lets the Honeylog Worker record visits while your existing website continues to serve its pages.
-
In Cloudflare DNS, confirm that the website's DNS records are Proxied.
-
Open
Workers & Pagesand select the Honeylog Worker you created. -
Open the
Domainstab in the Worker's top navigation bar, then click + Add Route. -
In Zone, select the website's domain, such as
example.com. -
In Route pattern, paste the value from your private Honeylog installation page. For a website at
example.com, enter*example.com/*.Route pattern
*SITE_DOMAIN/*Replace
SITE_DOMAINwith the website's domain, withouthttps://or a path. Keep both asterisks and do not add a dot after the first one:*example.com/*coversexample.comand its subdomains, includingwww.example.com. Adding a dot after the first asterisk excludes the root domain. -
Set the route's request limit failure mode to Fail open.
-
Click Add route and confirm that the route appears in the Worker's list.
Use Fail open to keep your website available. Both modes allow Honeylog to record visits normally while the Worker runs. If the Cloudflare Workers request quota is exhausted, Fail open bypasses the Worker and keeps serving your website; Honeylog cannot record those bypassed visits. Fail closed blocks those requests and displays a Cloudflare error page instead of your website until the quota is available again.
Open a few public pages on the website, then return to Honeylog and confirm that the new visits appear. This is the final confirmation that the Worker is connected to the website.
#Optional: Exclude paths to reduce Worker usage
Skip folders you do not need to track, such as static assets, to save your Workers request allowance and potentially reduce usage charges. Your website still serves these files, but Honeylog will not record any traffic to excluded paths.
-
Open your website's domain in Cloudflare and go to Workers Routes.
-
Click Add route and enter the path to exclude. This example skips everything inside
/assets/; replaceSITE_DOMAINwith your domain and change the folder to match your website.Exclusion route example
*SITE_DOMAIN/assets/* -
Set Worker to None and save the route. Keep the main route assigned to the Honeylog Worker.
-
Repeat for other folders you want to skip, such as
/images/or/wp-content/uploads/. Exclude only paths you do not need in your analytics.
The more specific exclusion takes priority over the main route, so these requests do not run the Worker. Use folder patterns ending in /*; extension patterns such as *.css are not supported.
HONEYLOG_SKIP_PATH_REGEX filters events after the Worker starts. It does not prevent Worker requests or save the request allowance.